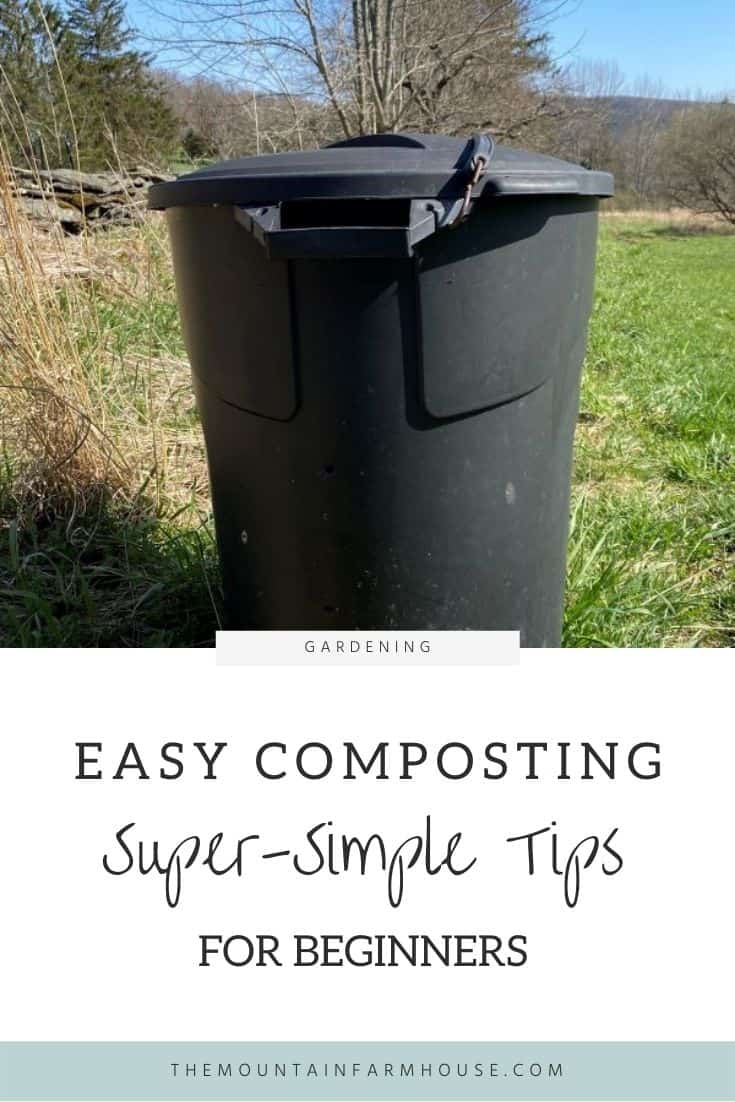
Easy Composting
Reflecting back to when we were first starting out on our organic gardening journey, I remember feeling overwhelmed about composting. But it turned out to be one of the easier things that we do to enrich and maintain our garden soil. Here’s to easy composting!
First Things First
Now that we’ve had several years of experience, my first suggestion would be to designate a place for it.
How much space do you have? If you live in a small dwelling with a yard, perhaps a corner will do for a compost bin?
One of my kids has a lovely little urban home with a small yard, garden, and deck in the back. They have a small compost container that has a handle with which to rotate the contents.
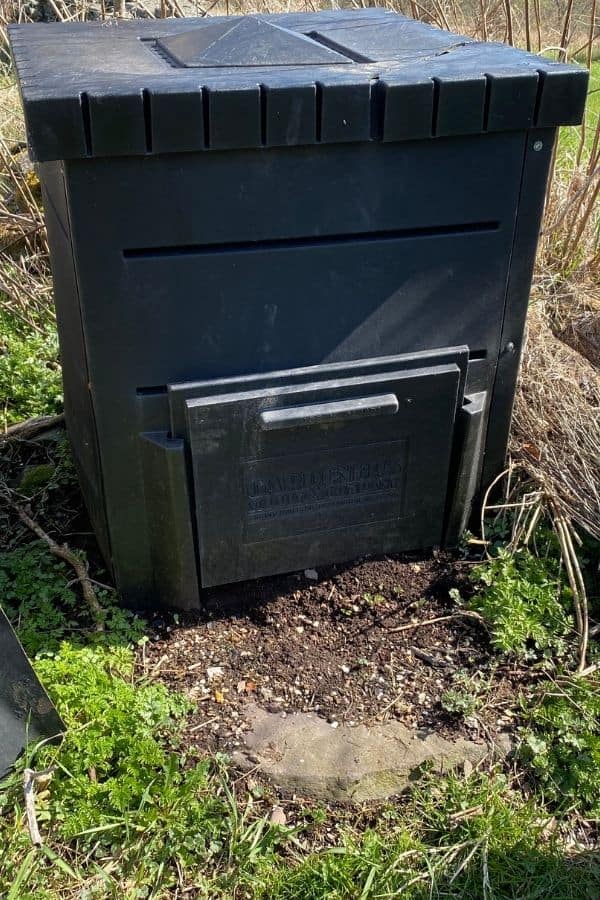
We have more space, so we have a few different types of compost bins. Our first one was store-bought when we lived in the suburbs. This is a great option, although it can get a little pricey.
Make-Your-Own Compost Bin
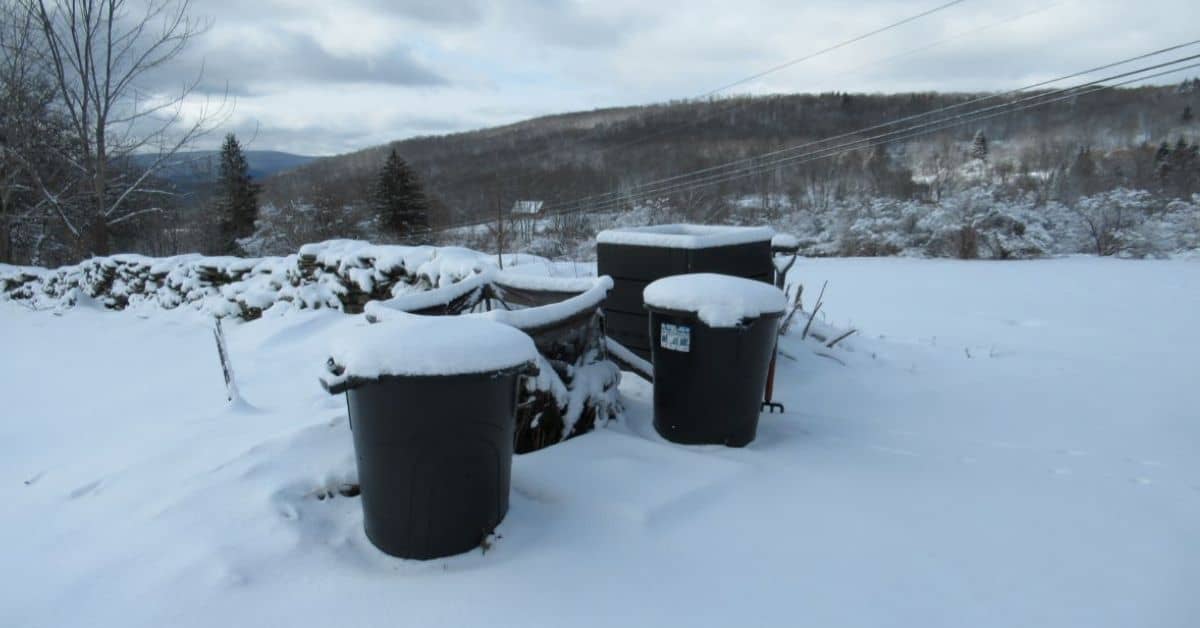
We added to this one using black, lidded trash barrels. Joel drilled holes in the sides and bottoms of the barrels. He also added a strap to help hold the lid on tightly.
One advantage of using this sort of container is that it’s on the less expensive side. It is also very simple to maintain – just remove the lid at regular intervals and stir the contents with a garden fork.

A couple of years ago, we stumbled upon some old pallets(We made sure they were not the chemically-treated kind*), and Joel got creative! He attached three sides together, lined them with chicken wire, and used some pieces of old barn wood for a hinged door. It stays “latched” with a piece of strong wire. One could easily use another pallet for the door if there is no available supply of barn wood.

A friend of mine has a simple bin constructed of, simply, garden stakes and chicken wire. This is a very affordable type of compost bin, especially if you’re just starting out on your easy composting adventure.
And finally, in the compost area, we have a few, free-standing piles.
(Basically, that means when the bins fill up, we pile the garden waste in heaps in the same vicinity. Our stone wall hides it from view.)
I’ve also heard of people using plastic totes for easy composting, both indoors and out. One would then drill holes for air circulation, much the same as above with the trash barrels.
HERE is another interesting way to compost if you have limited outdoor space.
In essence, there is infinite variety in easy composting methods.
How To Make Compost

Let’s try to simplify this information, as it can seem daunting, especially at first.
Compost Ingredients
It is almost always recommended that only plant matter should be used in compost.
The exceptions to this are thoroughly cleaned eggshells and seashells. These add minerals, like calcium, to the mix. If you crush them up, they break down faster.
Otherwise, plant-based compost ingredients are usually broken down into two categories, “green” and “brown,” or “wet,” and “dry.”
Personally, I find it easier to think in terms of wet and dry, because some of the examples of green and brown are not necessarily those colors.
Here is what I mean:
Wet (Green) Examples
Grass clippings(newly mown-not dried out), coffee grounds(which are actually brown in color, right?), tea bags, vegetable and fruit food scraps, fresh leaves, and manure from farm animals(also brown in color!)
Dry (Brown) Examples
Hay, straw, dried grasses or leaves(some dried grasses or leaves retain their green color), sawdust, newspaper, cardboard, dead branches and twigs
How to Mix the Wet and Dry Ingredients
Here are the basics – the wet, or green, materials are rich in nitrogen, and the dry, or brown, materials are rich in carbon.
An approximate ratio should be about 1 part dry to 1 part wet. I’ve read so many variations as to the “perfect” ratio – including as much as 3 parts dry to 1 part wet, however, you’ll see through your own observations what works best. Take your time and experiment.
Think of it as you would a sourdough starter or other fermented food. Adding the wet gets the compost “cooking,” so you definitely don’t want it to get too dry.
On the other hand, if it is too wet, it won’t break down properly and will simply slime up and stink.
Layering wet and dry ingredients is a good idea when beginning with easy composting, beginning with a layer of dry, woody pieces at the bottom, if possible. This will allow for good air circulation, which we definitely want.
Compost at Home Quickly
Here are some tips for helping the organic matter break down more efficiently:
1- Before adding material to the compost, chop it up as small as possible. For example, put your branches through a wood chipper, or cut up your fruit peels into small pieces.
2- Stir (or rotate your bin) often. This helps the air circulate. Otherwise, we can wind up with slimy clumps, and the organic matter will take longer to break down.
How often you stir depends on how fast you want this to break down. Once a day will certainly help it along faster, but once every couple of weeks or so should suffice if you aren’t in any particular hurry.
3- Pee on it – or get another family member to do this if that is easier! Sounds gross, but we learned this in our Permaculture class. It is nitrogen-rich, so if you already have a lot of wet/green material in the compost pile, perhaps this should be avoided, or at least kept to a minimum.
4- If your compost is on the dry side, sprinkle with water, but don’t overdo it. We don’t want to drench or soak it into a mushy mess! If you live in a dry climate, make sure you cover the compost bin.
In our area, it is notoriously damp, rainy, and muddy. Lids can not only help the compost retain proper moisture, but they can also keep the excessive rainfall from flooding the pile.
We have some compost bins with lids and some without.
No Space for Compost?
5-Perhaps you live in an apartment in the city and have no garden space at all, much less a place to keep a compost bin?
You might still want to reduce your carbon footprint or help enrich the soil of somebody else’s growing space.
If you get friendly with vendors at your local Farmers’ Market, they will often take your coffee grounds, eggshells, and vegetable or fruit scraps off your hands.
For more information about this type of practice, see this article, “The Do’s and Don’ts of Composting with Lauren Singer.”
More Tips for Easy Composting
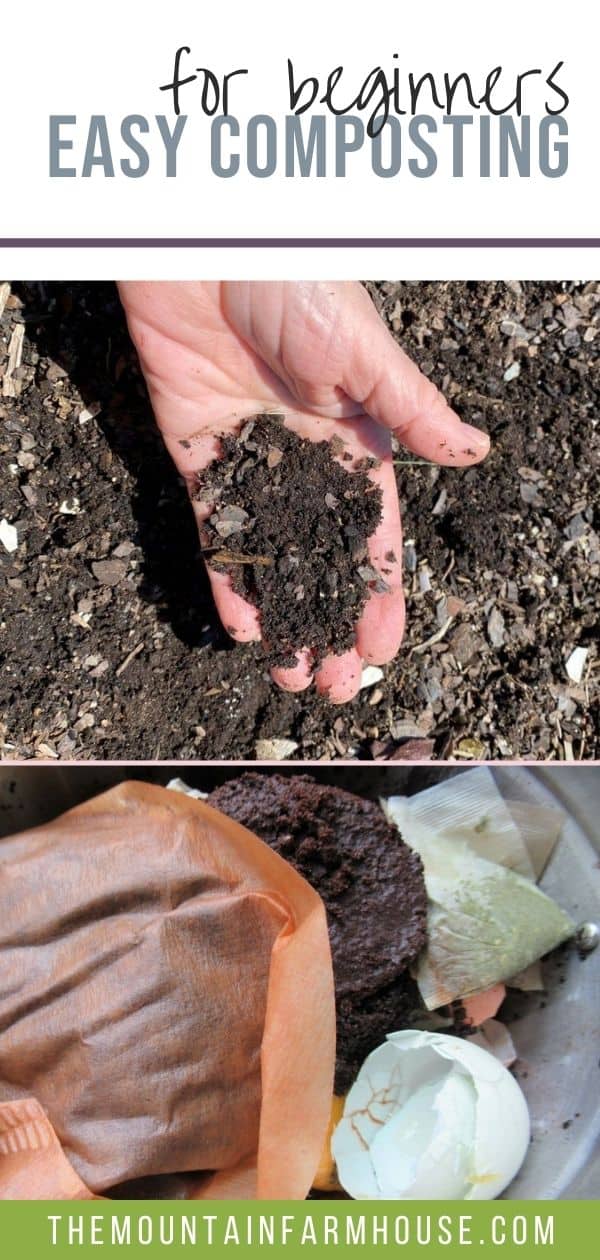
1- Keep some kind of container on your countertop in the kitchen to collect your fruit and vegetable peels and scraps, coffee grounds, eggshells, paper bits, and spent tea leaves.

If the fancy ones aren’t within your budget, consider using a large mason jar with holes punched or drilled into the metal lid. Empty this frequently.
If the container on your countertop is smelly or attracts bugs, be sure to wash it once a week minimum. Some of them come with a charcoal or carbon-type filter that helps alleviate odors.
2- Although I’ve heard different things from different people on this topic, I would steer clear of adding any animal bones or scraps to compost. The main reason for this is that these things tend to attract undesirable vermin. We have bears in our area, so……
If you eat vegetarian or vegan, this will be a non-issue, of course.
3- Items that tend to break down on the slower side are things like citrus and avocado peels.
4- Dairy, fats, and oils should be avoided.
For a good article about most things to avoid adding to your compost pile, click HERE.
Wisdom from Experience
The best dirt takes time. Since we’ve been composting for years, we’re in it for the long haul. The “greens” and “browns” that we add in the fall will be broken down into lovely, sweet-scented, rich compost that enriches the garden beautifully.
With a small amount of compost, you can make a nutrient-rich “tea” for the garden. (NOT to drink, of course!) Add hot water to a large bucket with about a cup of compost. Let it “steep” for a few days outdoors. You can dilute it at a ratio of about 1 part compost tea to 4 parts water. Use this as homemade soil enrichment.
**UPDATE**- Recently a reader recently expressed worries about odors in the compost. This is certainly a legitimate concern! In the actual outdoor bin, the organic matter naturally heats up and “cooks,” and the smell tends to be a sweet, farm-ish smell. If there is an unpleasant odor, it could be due to an imbalance of acidity, or perhaps too many wet ingredients. Sprinkling a little bit of ash(bio char), or lime may help. Adding “browns,” like dead leaves, may help balance it out as well.
I hope you found this helpful.
Composting doesn’t have to be so hard. Start small and have fun with it!
And think about how, instead of sending it all to the landfill, you are nourishing our Mother Earth instead.
For more easy composting tips, click HERE.
If you have any questions, please feel free to leave them below in the comments sections.
Likewise, if you have experiences you’d care to share about your own composting adventures, please leave them below as well. I’d love to know, and it could help others as well!
Happy composting!
Pin It For Later
*Farmhouse tip – Look on the pallets to find the letters, “HT,” which stand for “Heat-treated.” This means that no chemicals came into contact with the pallet during the treating process. Avoid pallets that are stamped with, “MB,” for example, which stands for “Methyl bromide.”
For more reading:
Vegetable Garden Planting List
How to Work With Garden Wildlife
Permaculture Principles on the Homestead


Such great information!I never knew that about the stamps on the pallets.Will definitely keep that in mind.
Happy composting!
Wow, great tips! I tried composting and found I completely ignored it haha. But I may feel differently once we actually have land. Thanks for all of this great information!
Thanks! It will still break down if you ignore it, albeit more slowly. If you’re not in a hurry to use it, then you can keep what we call a “long-term pile-up.”
Very imformative! I have a black garden/planting bin that has holes in it but doesn’t have a lid, would that be ok to use, would all the matter still break down ok. I’m really keen to start our own composting but a complete beginner!.
Yes, it would break down. Plenty of compost bins have no lid. The key is to watch it so it doesn’t get too dry or too wet. But it will definitely turn into compost.
Thank you for the insightful informtaion. Composting feels a lot easier after reading your post.
Happy to hear that. Enjoy the process.