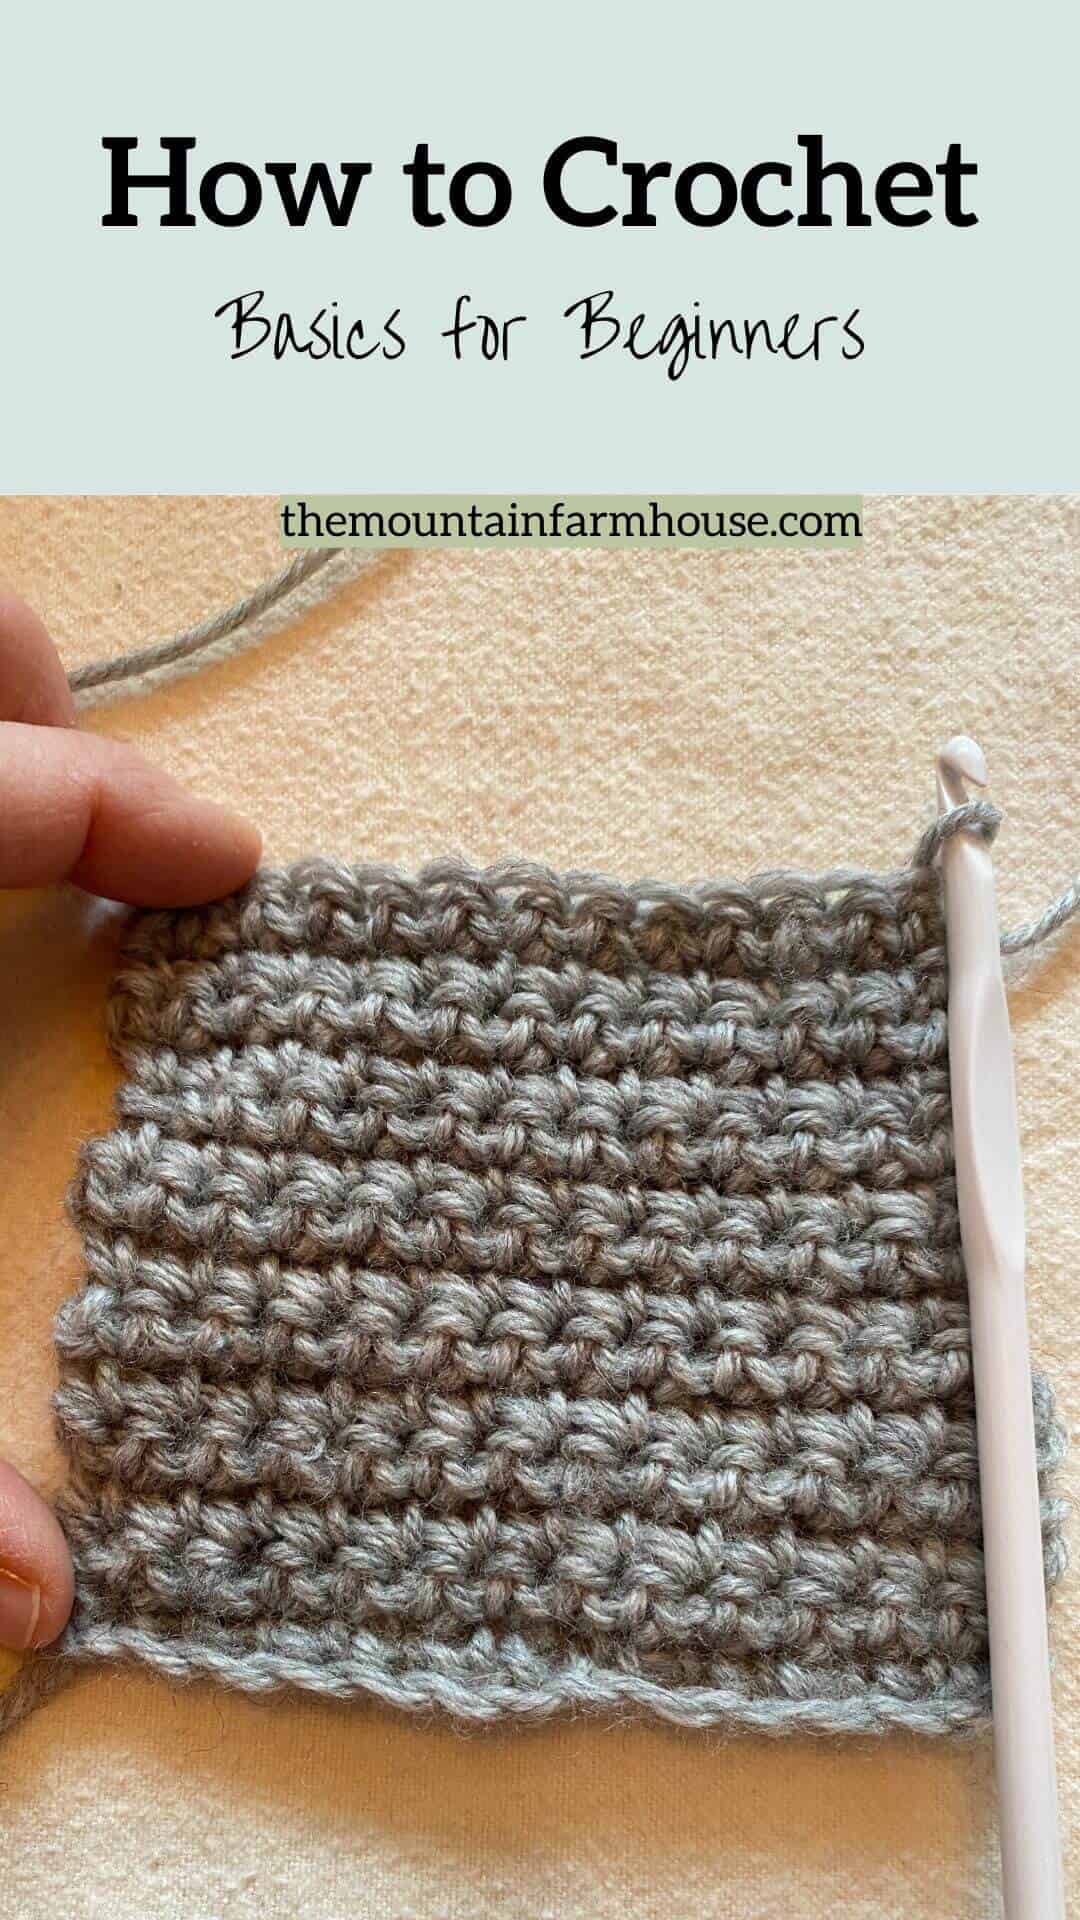
How to Crochet-The Basics for Beginners
Have you always wanted to learn crochet? There is no time like the present! Crochet is one of those beautiful forms of weaving that can serve many practical purposes. I love to do various types of needlework, but crochet is one of my favorites because once the basics are mastered, one can achieve quick results. Crochet projects can be beautiful, functional, and fun! Read on to learn how to crochet, “The Basics for Beginners.”
Once you master the first few steps, it won’t be too hard to learn a few “advanced” stitches and techniques. Take your time. Enjoy yourself. And delight in the knowledge of a new and valuable skill.
Let’s Get Started! Crochet Step-By-Step
Choose your yarn. I have a lot of leftover bits and balls of yarn, so I grabbed the yarn you see below. Make sure your crochet hook size corresponds with the yarn you have by reading the yarn label.
Right or Left-handed?
It doesn’t matter which is your dominant hand, however, I am right-handed, so you will see this from my perspective. I have seen right-handed and left-handed people crochet with either hand, so choose which direction to go based on your own personal level of comfort. If necessary, flip your work in the opposite direction of the pictures.
Chain Stitch (ch)
******Farmhouse tip/update – For some projects, it might be beneficial to use a slightly larger crochet hook to make the initial chain. Then switch to the regular sized hook for the remainder of the pattern.
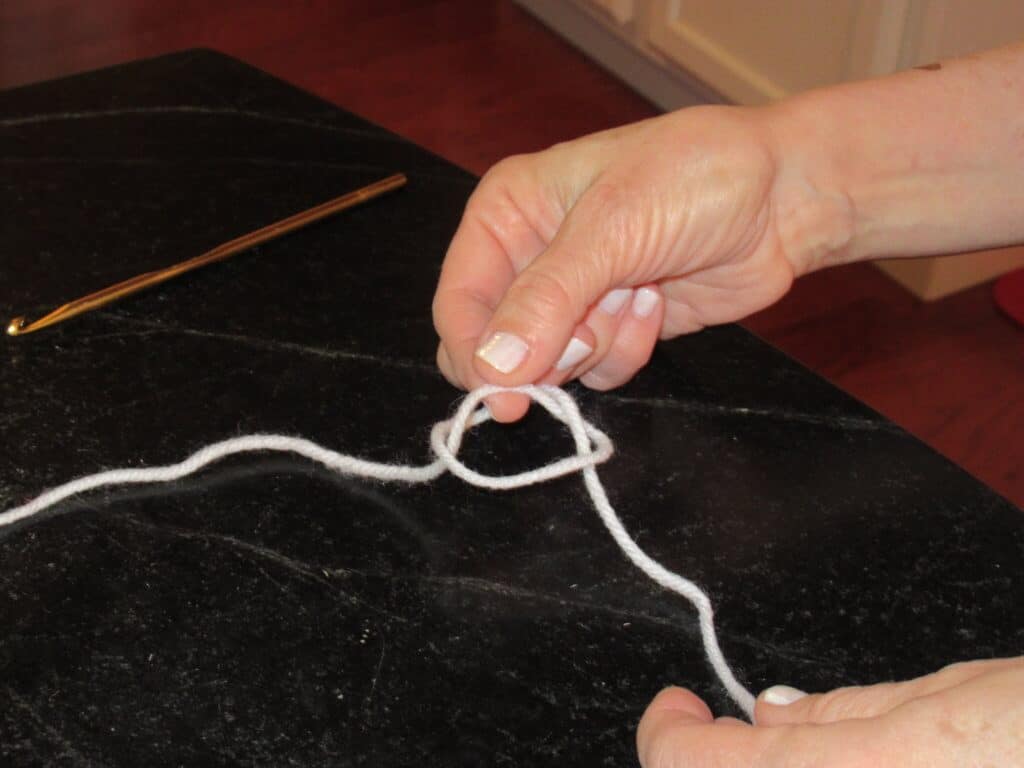
1- If you knit, you know that you start by “casting on.” The equivalent in crochet is starting off with a “chain.” Before you can make the chain, you will have to make a slip knot. It all starts by making a loop:

Next, you’ll want to pull the working yarn, which is the long end of the yarn leading to the ball or skein(the shorter end is the tail) through your loop. Do you remember tying your shoes as a child? Think of it like that:
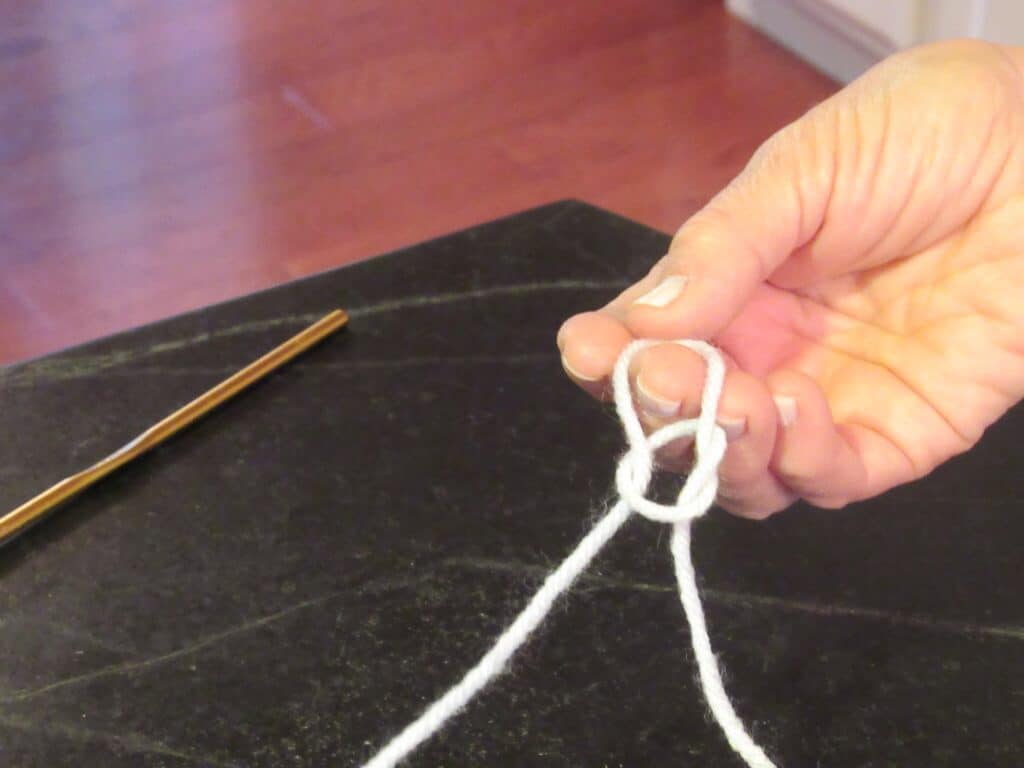
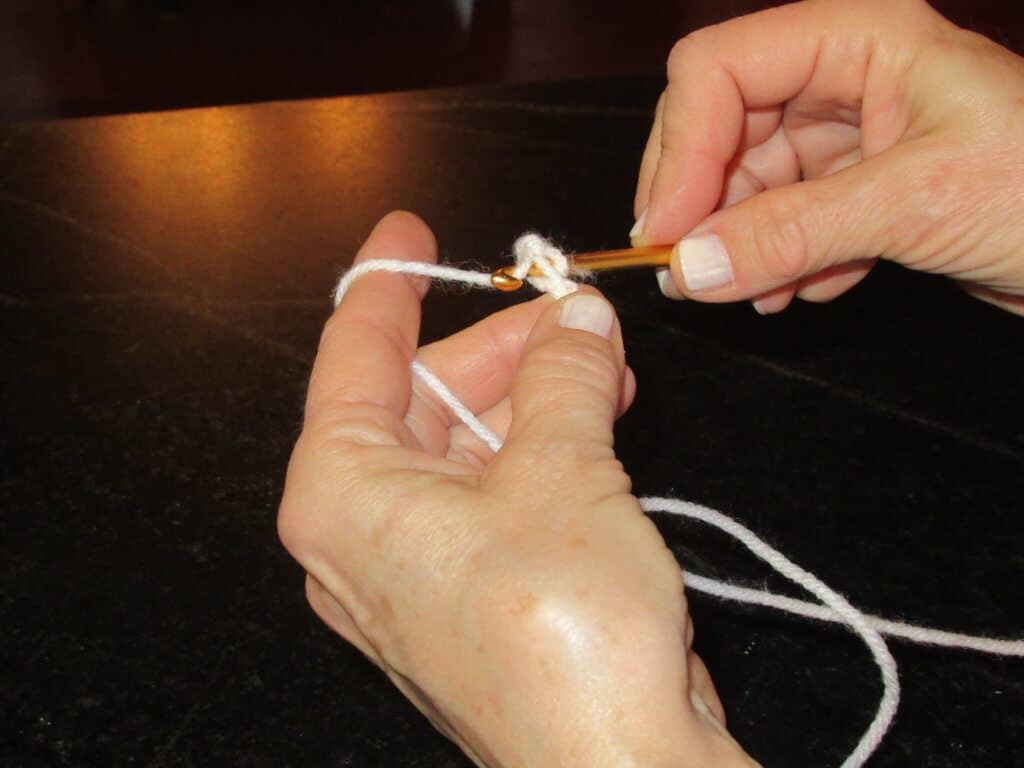
2- Slide the slip knot onto your crochet hook and tighten it slightly (But not so much that you can’t slide it off somewhat easily. This takes a few tries, but with practice, it will become simpler over time. Patience is key.)

3- I hold my hook in the right hand and my working yarn in my left hand. I keep a little tension in the working yarn, but not too much. It’s time to make the chain! Let the fun begin! Bring your hook so the yarn wraps around like so:

4-Start wrapping the working yarn around your pinky, then turn your hand over and bring the yarn closest to the hook between your first and middle fingers as below:

Chain, Chain, Chain
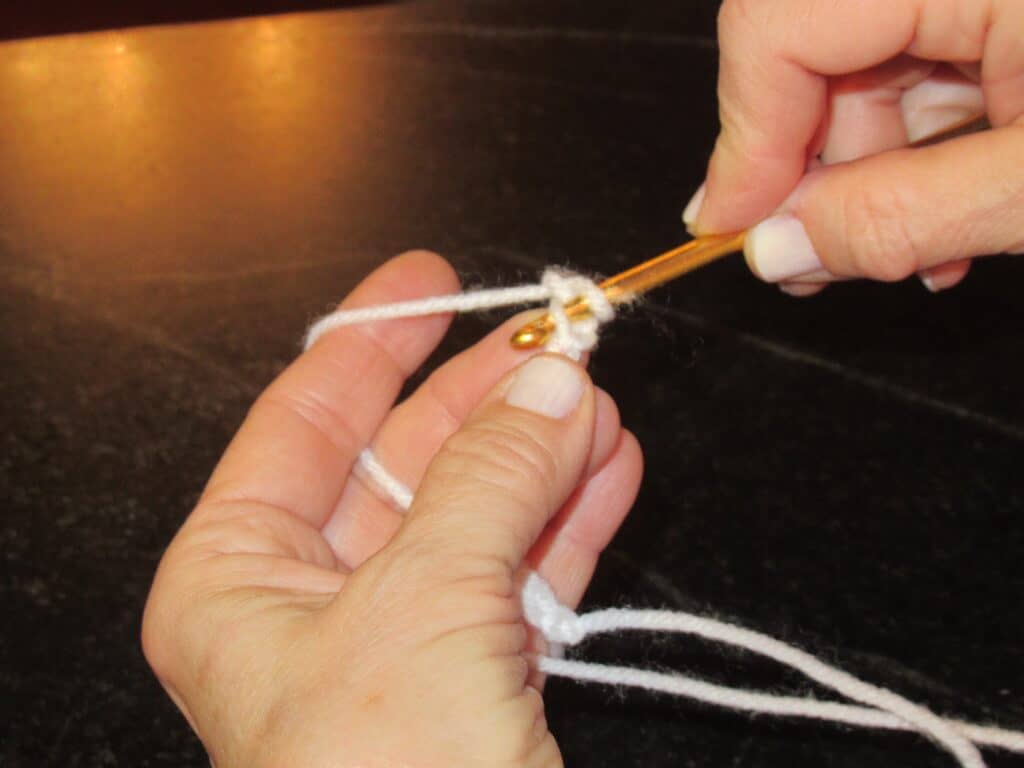
5-To begin the chain, wrap the working yarn around the crochet hook:

6-Then grasp the tail with your fingers(see below) to steady the hook as you work. Wrap the yarn around the hook again, and twist the hook a bit as you pull the loop through your slip knot:

7-Now pull the yarn through to start your chain:

8-Do you see how I’m holding the tail with my thumb and ring finger? This is necessary for control. The working yarn tension is held between my first two fingers. Now repeat this step again:

9-Keep repeating this step until you’ve chained the designated number in your pattern:

That’s how you make the chain! Keep practicing and it will become easier over time!
How to Crochet – the Basics – Single Crochet (sc)
******Farmhouse note: In the United States, what is called a “Single Crochet” stitch is known as a “Double Crochet” in the United Kingdom.
Now that you’ve mastered the chain stitch, it’s time to move on to Single Crochet:
1- While holding the tail of the chain stitch between your thumb and third or fourth finger in the working yarn hand, insert your hook into the second stitch in the chain. It will feel as though you are now moving backward, which, in a sense, you are.
2- Wrap the working yarn in a way that is similar to when you did the chain stitch, from back to front.
3- Slightly twist the hook as you pull the yarn through the loop like you did when you made the chain stitch.

4- There should now be 2 loops on your hook. Wrap the yarn one more time around the end of your hook.

5- Twist the hook a little and pull the working yarn through BOTH loops that are on your hook. That is now one single crochet stitch!

Now Practice!
That’s it! What I’d like to recommend is that you try a simple project, such as a dishcloth. Seriously, you don’t need a pattern. Just chain 10-15 stitches, then single crochet back and forth for 10-15 rows (or until it is a length you like). Then, when finished, cut off the working yarn with around 6-8 inches dangling. Weave that piece through your project. You don’t have to be precise about it at this point. Just have fun! Here is a picture of one of my first dishcloths:

This was made from some cotton scrap yarn I had lying around. See how uneven it is? That really doesn’t matter to me. This project gave me the opportunity to practice and learn!
If even this seems too daunting, try practicing your chain stitch and single crochet with no pattern. You can pull it out and start over as many times as you like. When you feel ready, you can move on to a simple project that you can easily accomplish.
Also, as you feel more comfortable, check out Ravelry for inspiration, ideas, and patterns.
And if you want a simple way to crochet Curtain Tiebacks, click HERE.

What sorts of things do you wish to crochet? My personal favorites are hats and blankets. Enjoy the learning process. It will most definitely get easier and quicker with time and practice.
***Disclaimer – This post may contain affiliate links. This means that if you make a purchase, I will earn a commission at no extra cost to you.
INTERESTED IN STARTING YOUR OWN BLOG? CLICK HERE FOR THE LINK TO CREATE YOUR BLOG DREAM COURSE – HTTPS://CREATE-YOUR-BLOG-DREAM.TEACHABLE.COM/P/CREATE-YOUR-BLOG-DREAM?AFFCODE=238264_HKFCM-EP
Pin it for Later


Leave A Comment