
Awhile back, I kept sourdough starter on top of my fridge, ready-to-use at any time. I loved to bake sourdough bread! Over the years, however, I lost the inclination as well as the starter. Now, there is a new surge of energy at The Mountain Farmhouse! Along with growing food in our garden, I’m experimenting with sourdough again. Here are some easy instructions for How to Make Sourdough Starter.

Sourdough Starter
Before commercial yeast was sold, sourdough starter was what people used to get their bread to rise. It is a wonderful, economical, tasty ingredient that is very satisfying to use when cooking and baking.
Now before we begin, let me explain something. I’ve been figuring these amounts out through trial and error for a few months now. The room temperature at The Mountain Farmhouse is inconsistent at best, so I did a little research along with my own “scientific” experiments.
What did I learn? I have to be flexible and play with it a little bit. My most consistent room temperature is still on top of my fridge, just as it was the case in our previous home.
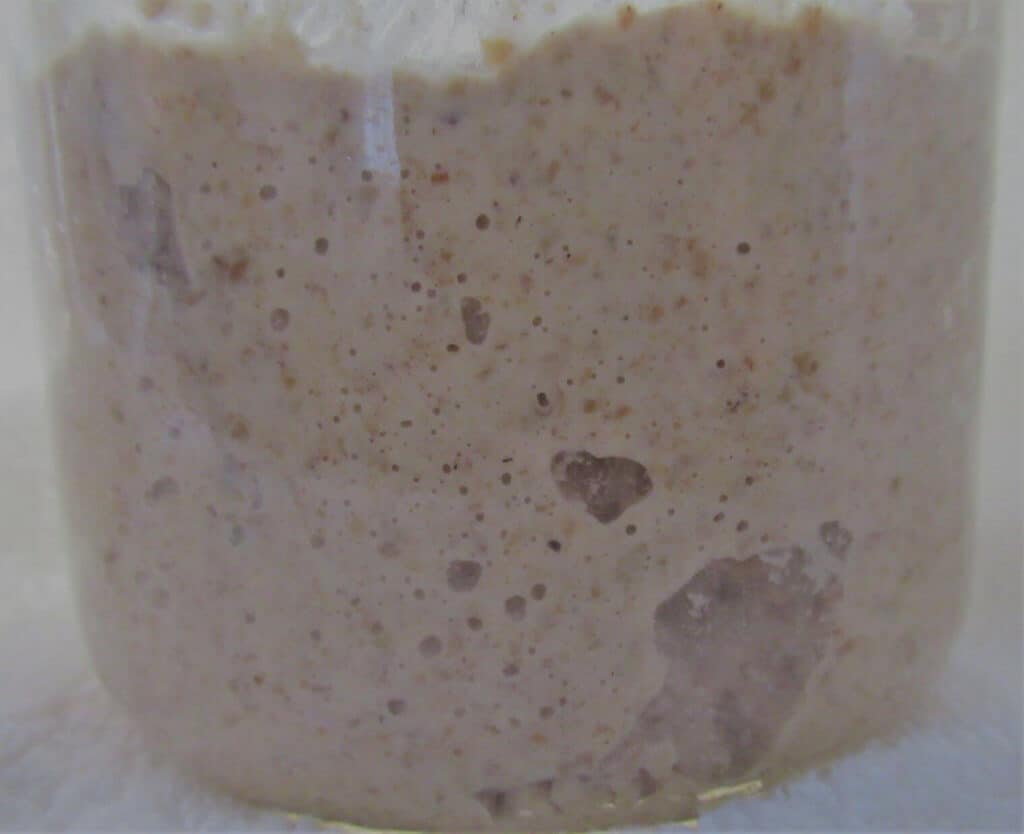
Sometimes, though, I set it on our radiator cover and allow it to bloom and grow more quickly. Here is a close-up of my starter showing those delightful bubbles.
Adaptable to Your Baking Schedule
And then, there are times when I need to slow it way, way down, so it goes inside the refrigerator. If storing it in the refrigerator, make sure you screw the lid on tight. Then “FEED” it 1-2 times per week, as opposed to 1-2 times per day. (More on feeding your starter below)
I’ve actually gone a few weeks without feeding it while it stayed in the fridge, and it was perfectly fine. It just needed a little “reviving.”
How to Make Sourdough Starter
All you need are two ingredients – flour and water. That’s it.
The flour type is really your preference. We love rye, so I use it a lot in my starter. Sometimes, though, I switch it out and use wheat flour. I’ve even mixed them up in the same batch of starter. It really has not affected the quality at all.
Make sure you use non-chlorinated water. Distilled is fine, or let your tap water sit in an open container on your countertop for at least 24 hours. We have filtered well water, which works out nicely.
My proportions are approximately 2 parts flour to 1 part water. I’ve read that it’s important to go by weight, which can sometimes alter these measurements. I’ve simply used 1/2 Cup flour and 1/4 Cup water, for the most part. It’s easy to make smaller or larger quantities by dividing or multiplying these amounts.
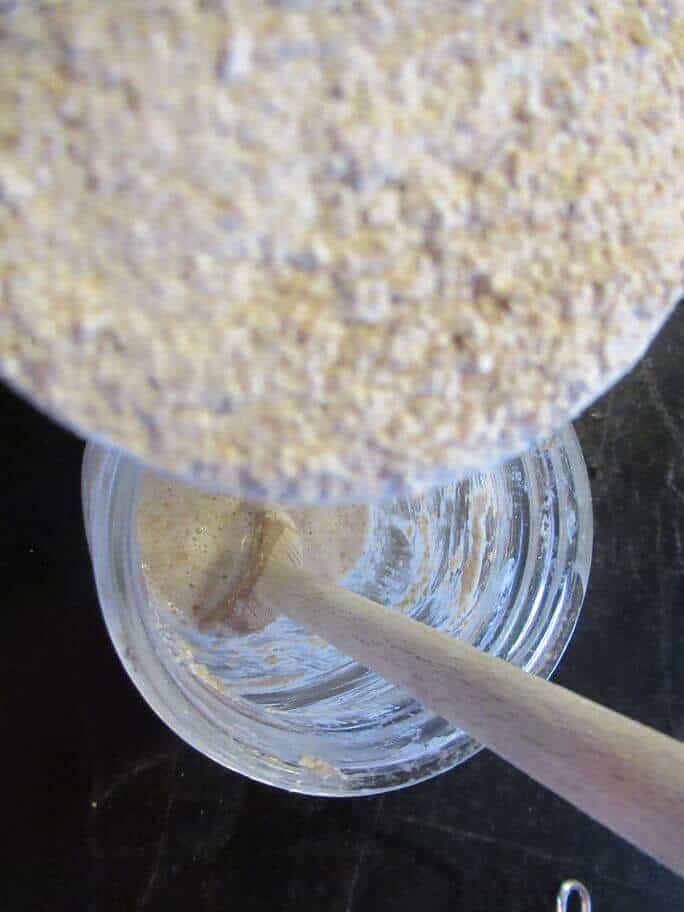
You’ll need a quart-sized mason jar with a lid in which to store it. I don’t recommend smaller than that. The starter needs room to bubble up and expand. If you prefer, mix it first in a bowl and then transfer it to the jar.
Also, a wide-mouth mason jar makes it easier to stir or to transfer the starter after mixing in a bowl.
Let’s Begin
First, pour in your water. Keep it at your approximate room temperature. If your house is on the cool side, you can use slightly warm water. Likewise, if your house is 68°-70°F, cool-to-cold water will work well.
Then, add your flour and mix it well. Use a wooden spoon and get it well-combined.
When it is mixed well, loosely set the lid on the jar. Don’t even bother to screw it on a little. Just let it simply rest there.
Now place it in your favorite spot in your kitchen. Depending on your room temperature, you may be able to just set it on your countertop.
Give it 24 Hours
Check it after about 24 hours. Did it start to get a little bubbly? Either way, remove about half the starter at this point and put it in your compost bin, or add it to a recipe, like pancakes. Since it is only the first 24 hours, it won’t really affect the flavor of your recipe (should you choose to use it), but it avoids waste. And we’re always looking for better ways to do that, yes?

FEED what remains in the jar. Add another 1/4 – 1/2 Cup water and 1/2 Cup flour. Mix it well, loosely cover, and put it back in its special spot.

Check it after another 12 hours. How’s it doing? It should begin to show more bubbles and have a yeasty, almost beer-like smell. FEED it again!
If it forms a liquid, that is called, “hooch.” It is not harmful. You can pour it off or stir it in – your choice.
Growing Conditions
If you find that things are progressing a little slower than you’d like, find a slightly warmer spot. If the starter is bubbling to bursting, perhaps look for a cooler spot.
Many sources recommend feeding the start twice per day, approximately every 12 hours. I’ve done it once a day with no ill effects. However, my house tends to be on the cooler side, so this works well for me. You’ll have to determine what works based on how cool or warm it is in your house.
In general, the cooler the temperature, the slower the starter will grow. Likewise, the warmer the temperature, the faster it will grow.
When you get your starter going strong, you can offer some to your friends. Share your abundance! This is in perfect accordance with Permaculture Ethics.
Your starter is ready-to-use for bread within about 4-5 days.
More about Sourdough Starter
Also, to reiterate, when it’s feeding time, the starter you remove(“discard”) can be used to make pancakes, waffles, or another recipe, like “scones.” (I put that in quotes because I cook them in oil on the stove top rather than in the oven. We eat them with dinner as we would biscuits.)
If liquid forms, that’s called “hooch.” It is actually alcohol, hence the name. You can either pour it off or stir it in. I’ve done both and seen no real measurable difference in outcomes.
If a “skin” forms on the top, scrape it off and keep feeding, unless it is a weird color with a possible weird smell. That could be mold. In that case, dump it and start over with a clean jar. I change out my jar periodically anyway, especially if the starter gets a little crusty along the sides of the jar.
The smell should be yeasty and somewhat sour, similar to beer.
Lots of people recommend mixing your starter in a glass bowl, as well as using a glass bowl when following a sourdough recipe. When covering dough to rise, I simply use cotton tea towel.

Easy instructions for sourdough starter
- 1/4 – 1/2 Cup Water Non-chlorinated Be careful not to let the starter get too thick or too runny
- 1/2 Cup Whole grain or all-purpose unbleached flour
-
Mix water and flour in a bowl.
-
Transfer mixture to a quart-sized Mason jar.
-
Loosely cover the top of the jar with the lid, or with a coffee filter and rubber band.
-
"Feed" every 12-24 hours: Remove half of the starter, then add another 1/4 Cup water and 1/2 Cup flour. Mix well.
It really is fun to make sourdough starter! As a gardener, my love for growing things carries over into the yeast arena! It gives me the same feeling of satisfaction to know that I can contribute to our own, home-grown food supply.
No need to purchase yeast in those disposable packages!
Try this starter in my easy Country-Style Sourdough Scones recipe!
Do you use sourdough starter? If you try this at home, let me know how it works out!
Blessings!
♥
COUNTRY STYLE SOURDOUGH SCONES
SPICED VEGAN SOURDOUGH WAFFLES


Leave A Comment