Planting in the Spring
Here in the Northeast, we are well behind many of you when it comes to Spring planting! In fact, we just went plant shopping in rainy, cold weather. It was a little disheartening, because the winds made the raindrops land on our faces, making it rather difficult to see what plants we selected! At any rate, it could be a fun surprise when planting this year’s garden.
That said, I’m sort of scrambling to get things set up in a way that will, hopefully, prevent some garden problems this season. So in addition to the excitement and anticipation of planting, I am preparing for potential “disaster” as well. We are planning to protect the garden(s) better with more row cover fabric, for example. In the meantime, here are some of the plants we purchased:

Plants for the garden
The tomatoes are as follows:
Roma
Rose de Berne
San Marzano
TY Heirloom
Black Zebra
Shaker Large Red
Sungold
Abraham Lincoln
Japanese Black Trifele
Our other fruit, vegetable and herb plants include the following:
Watermelon
Eggplant
Marketmore Cucumber
Silver Slicer Cucumber
Basil
Bell Pepper
Other Pepper (this is a mystery plant)
Red leaf lettuce
Green leaf lettuce
Cabbage
Raspberry
Blackberry
Lavender
Borage
Comfrey
And finally, the flowers:
Petunias
Marigolds
Morning Glory
Cosmos
Cleome
This gives me a good start, although I am certain I will have to shop at least one more time to finish setting it all up.
Hardening Off
I’m allowing the plants to “harden off,” as it were. If unfamiliar with that term, it simply means that, prior to planting things in the ground, they stay outside in their little containers for a bit. This should help them acclimate to improve their chances of survival, as well as their ability to thrive. In essence, to increase the plants’ “hardiness.”
The lettuce and cucumbers had a little head start in this process, so I planted them first:

Cucumbers and lettuce
That’s actually chamomile on the right side just outside the planting bed. It seeded itself from previous years’ plantings. I’m not sure if I will leave it there or move it. It seems fine for now, and I dry it and use it for tea.
Protection for Strawberries
Since I am not quite ready to plant the rest of the vegetables, I decided to do some work among my strawberries and my asparagus. The strawberries needed to be covered with a net, as they are in flower at the moment:
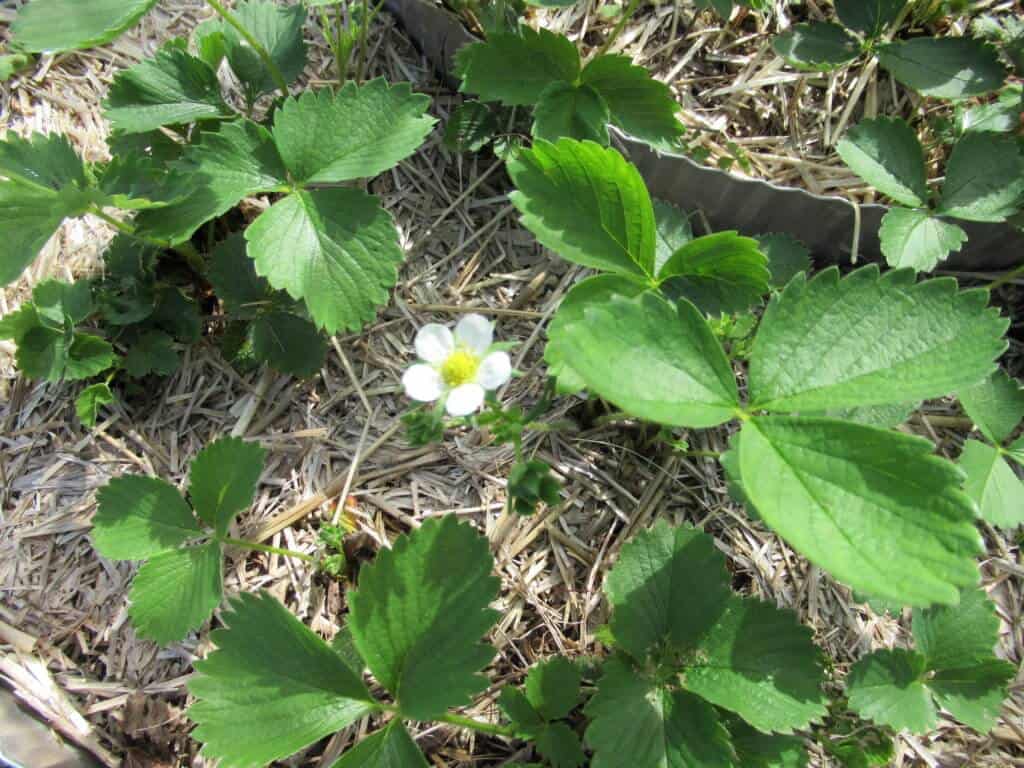
Strawberry blossom
I’ve used bird-net in the past, and it helped somewhat, but I thought that a finer mesh would work better. I’m experimenting with, of all things, tulle:

Netting the strawberries
In order to secure it, I sewed it together at the top and along the opening:

Sewing the netting
Here is what it looks like all finished:

Netted Strawberries
It isn’t glamorous, but I believe that it will be effective!
Do you see the contraption in which the strawberries are planted? That is literally called a “Strawberry Trellis,” and I can’t for the life of me remember where I bought it. I do remember that I ordered it online and it was not difficult to put together. If you are handy, you could probably come up with something similar using corrugated tin. Some of the best features on this one include:
- It connect to a hose and sprinkles water from the top
-There is a frame over which you can place a frost-protection blanket, or netting, as shown
-This is a nice, compact solution if you have limited space
Protection for Asparagus through Companion Planting
Next, I wanted to plant petunias near the asparagus. Petunias, supposedly, help protect asparagus from the asparagus beetle. They are also quite beautiful. This year I chose a pastel pink shade:
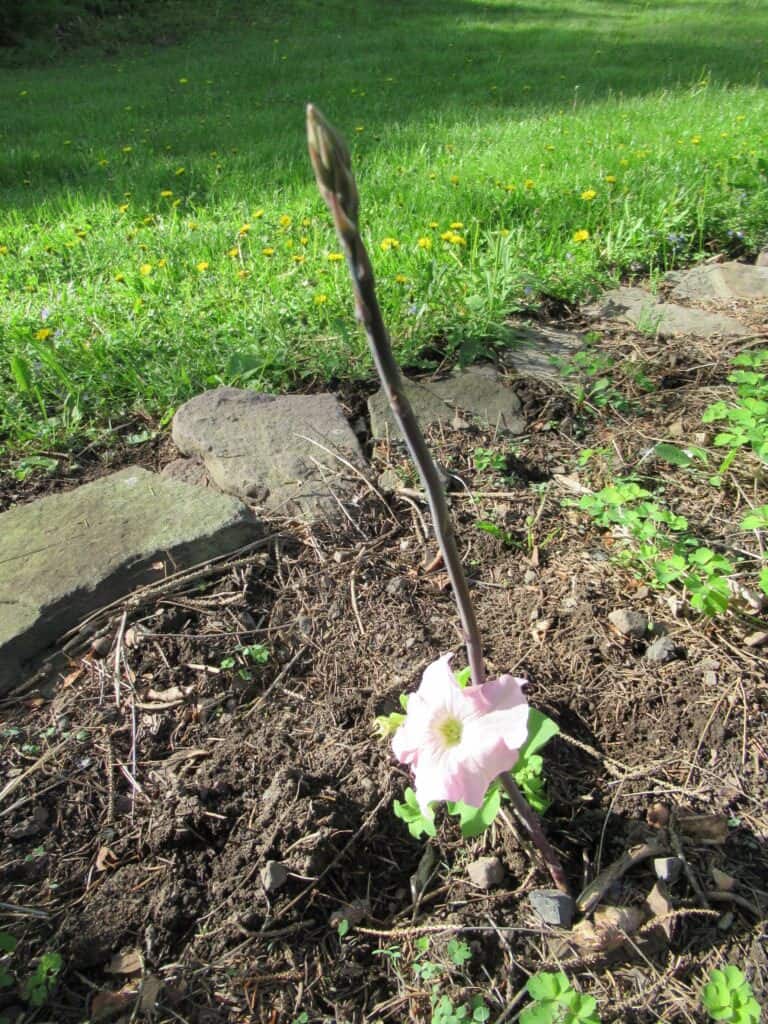 Petunia with asparagus
Here is another perspective of this wonderful pairing:

Companion planting petunia with asparagus
Can you see the Columbine surrounding the asparagus? It is a worthwhile plant in this bed as it is a good friend for rhubarb. Rhubarb, asparagus, and horseradish all make a lovely group of companion plants, so I’ve planted them all together in this bed. But for now, I’m just focusing on the asparagus area.
Here is a little tip when planting flowering plants: After planting, pinch of the blossoms, if any. This will ensure more prolific future blooming. (I left the blossoms on for the purposes of the photos, but pinched them off right after!)
Back to the Vegetable Garden
I re-visited the vegetable garden and got my tomatoes in the ground. Hurray! Here they are:
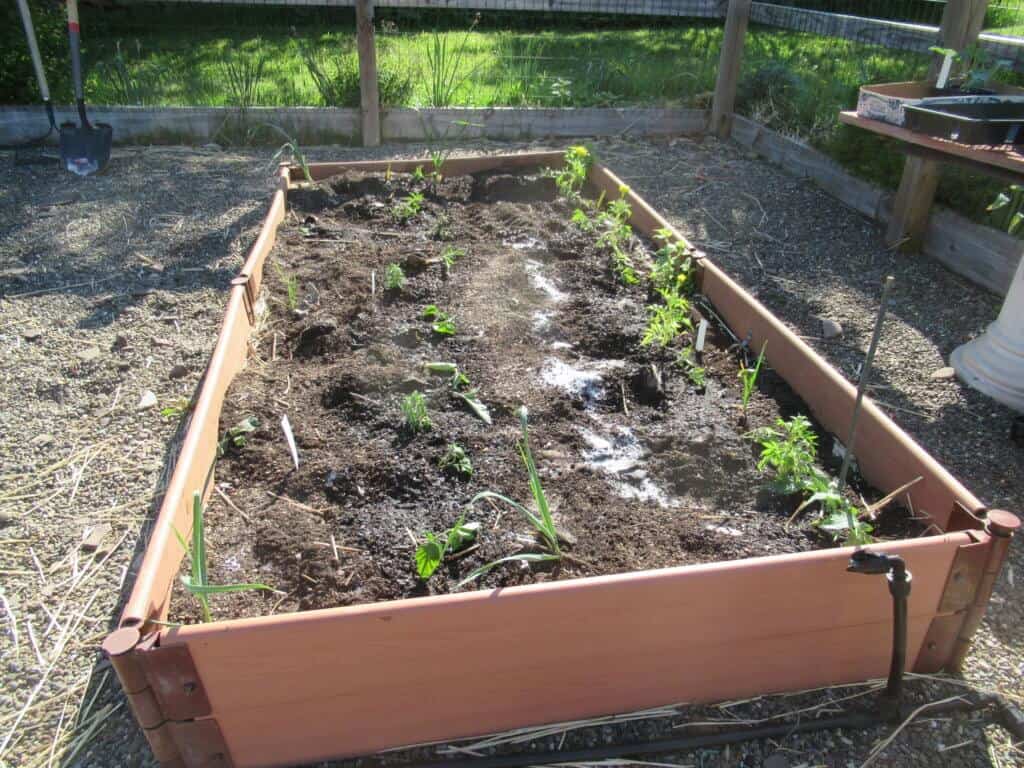
Newly planted tomatoes. As you can see, we haven’t attached the drip hoses to our little irrigation system yet. We have hose spigot issues at the moment. Until that is resolved, I’m using the old-fashioned watering can.
If you look closely you can see marigolds planted among the tomatoes, along with some garlic that I put in last fall. The white-ish, powdery substance is Epsom salt. Epsom salt is highly recommended for use at planting time to help give the plants a nutritional boost.
And, just for fun, I thought I’d share a flowering plant with you!
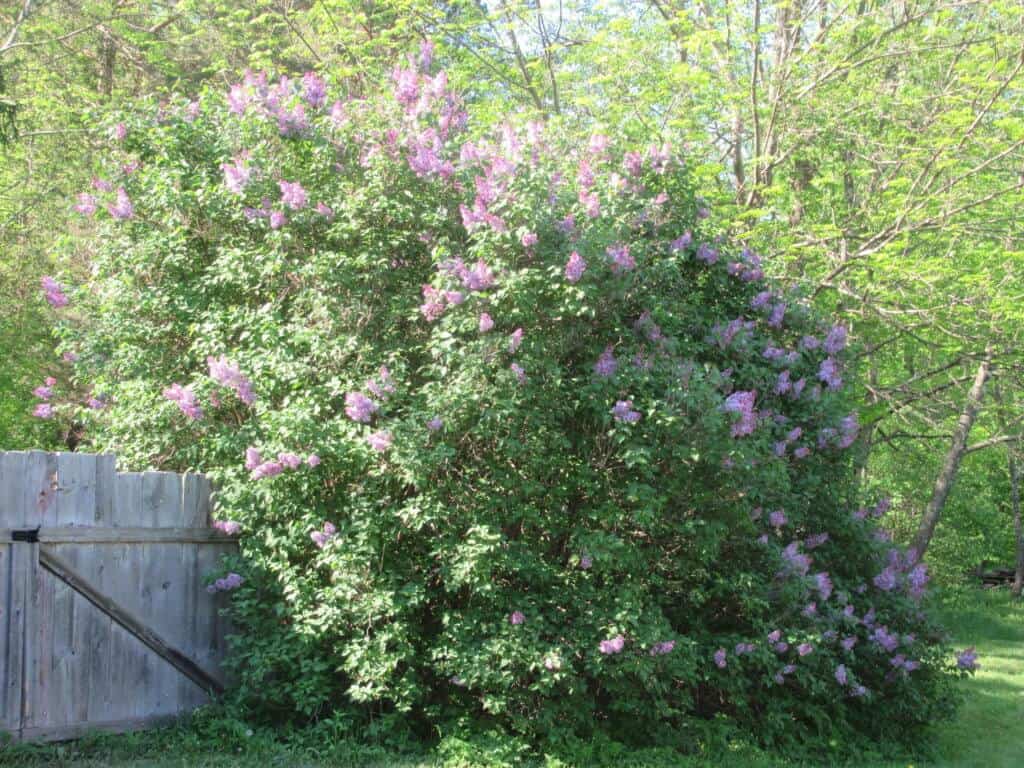
Budding Lilacs
This group of lilacs is so wild-looking and free! It never disappoints. Year after year, it comes back to bless us with its beauty and fragrance. After working hard in the garden, just looking at this and taking a big, deep inhale can help release any pent-up tension. I’m ready to cut a few stems and bring them inside!
Introducing Finn
….and here is my trusty companion, Finn. He hangs out with me when I’m out in the garden, as well as pretty much everywhere. He’s a Cairn Terrier, just like “Toto” from the “Wizard of Oz.”

Finn
What are you doing in your garden for Spring planting? Who keeps you company?
Spring Planting Blessings!
<3
Wendy


Leave A Comment